The following collection of video tutorials is presented in no particular order. Some of the tutorials are quite advanced, some are very basic. Most are available from my YouTube channel. Please check back here frequently as new tutorials are added on a regular basis. NOTE: if a video fails to play, or you get a black screen, click “esc” & try right-clicking, and load the video in a new tab or window.
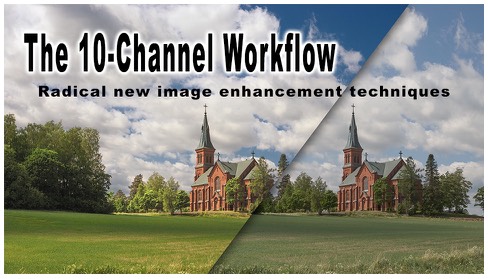
- 10 Channel Workflow part-1
- 10 Channel Workflow part-2
- 10 Channel Workflow part-3
- 10-Channel Workflow part-4
- Curves in Photoshop CS6
- Layer Modes & Blending Options – part 1
- Layer Modes & Blending Options – part 2
- Layer Modes & Blending Options – part 3
- Lighting in Layers in Photoshop
- Luminosity Blending – part 1
- Luminosity Blending – part 2
- New Skin Smoothing Technique
- Removing Moiré from Digital Photos
- Removing Red Blotchy Skin
- The High Pass Overlay Technique
- Ultimate Skin Retouching Technique
- Aerial Perspective Technique
- Lighting in Layers with Photoshop
- Analog Posterize Effect
- Cross Process Effect
- Classic Hollywood Glamour
- Background Bokeh
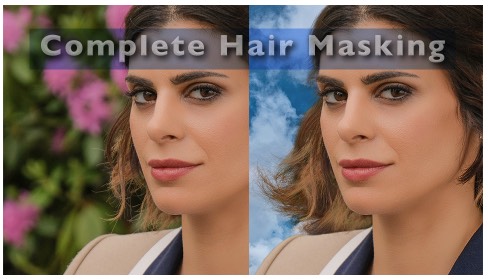
- Ultimate Hair Masking
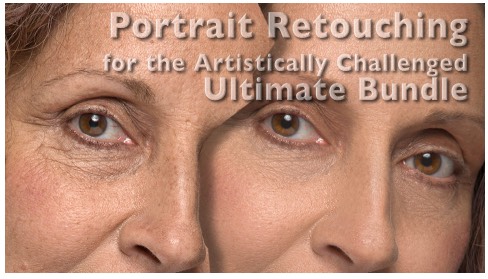
- Portrait Retouching
- 21st Century Lighting Techniques
- Professional Photo Workflow
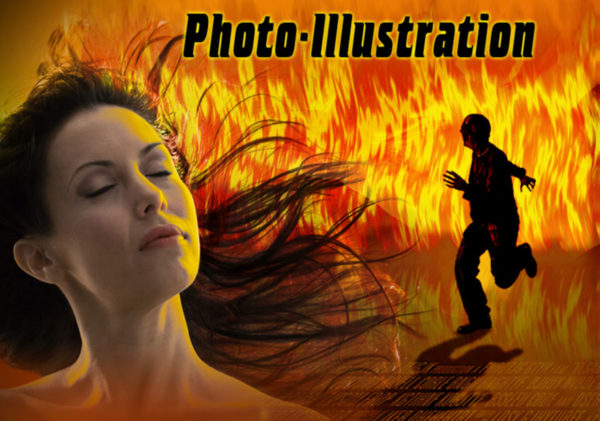
- Fundamentals of Photo Illustration
- Color to B&W and Beyond
- 3 Tips for Exciting Portraits
- Preferences in Photoshop
- Basic Selections
- Adjustment Layers in Photoshop
- How yo Use Content Aware Fill
- 20 Years in Digital Imaging
- Beauty Retouching
- Masking & Compositing
- Compositing Basics in Photoshop
- Hair Masking in Photoshop
- Preferences in Photoshop
- 3 Tips for exciting Portraits
- Adjustment Layers in Photoshop
- Removing Banding in Photoshop
- Cropping in Photoshop 6
- Sharpening in Photoshop 6
- Noise & Texture in Photoshop
- Low Key Glamour Retouch
- Landscape Imaging Workflow
- Landscape Post Process Workflow
- New Mask Features of Photoshop 2015.5
- Fuji Creative Capture Workflow
- Re-Thinking the Raw File Workflow with Fuji Mirrorless
- Shooting and Processing Panoramas
- The Tao of Imaging, part-1
- The Tao of Imaging, part-2
- The Tao of Imaging, part-3
- Noise Suppression Techniques in Photoshop
- Lab Luminosity Masks in Photoshop
- Shiny Skin Retouch in Photoshop (frequency separation)
- Lo-Key Glamour Retouch in Photoshop